ClickUp 101: Master the Basics

Categories: ClickUp
Wishlist Share

About Course

Welcome to ClickUp 101

Welcome to ClickUp 101 — your practical introduction to ClickUp and the fundamentals you need to start managing your work more efficiently.

Whether you’re completely new to ClickUp, moving from another project management tool, or already using ClickUp but feel like you’re only scratching the surface, this course will help you understand how ClickUp works and how to build a solid foundation for your team.

ClickUp can do a lot — but you don’t need to learn everything at once.

In this course, we’ll focus on the essential concepts, features, and workflows you need to confidently navigate ClickUp and organize your work.

What You’ll Learn

By the end of this course, you’ll understand:

  • How ClickUp is structured and how Workspaces, Spaces, Folders, Lists, and Tasks fit together
  • How to create and organize tasks effectively
  • How to use statuses, priorities, assignees, due dates, and custom fields
  • How to choose the right ClickUp views for different types of work
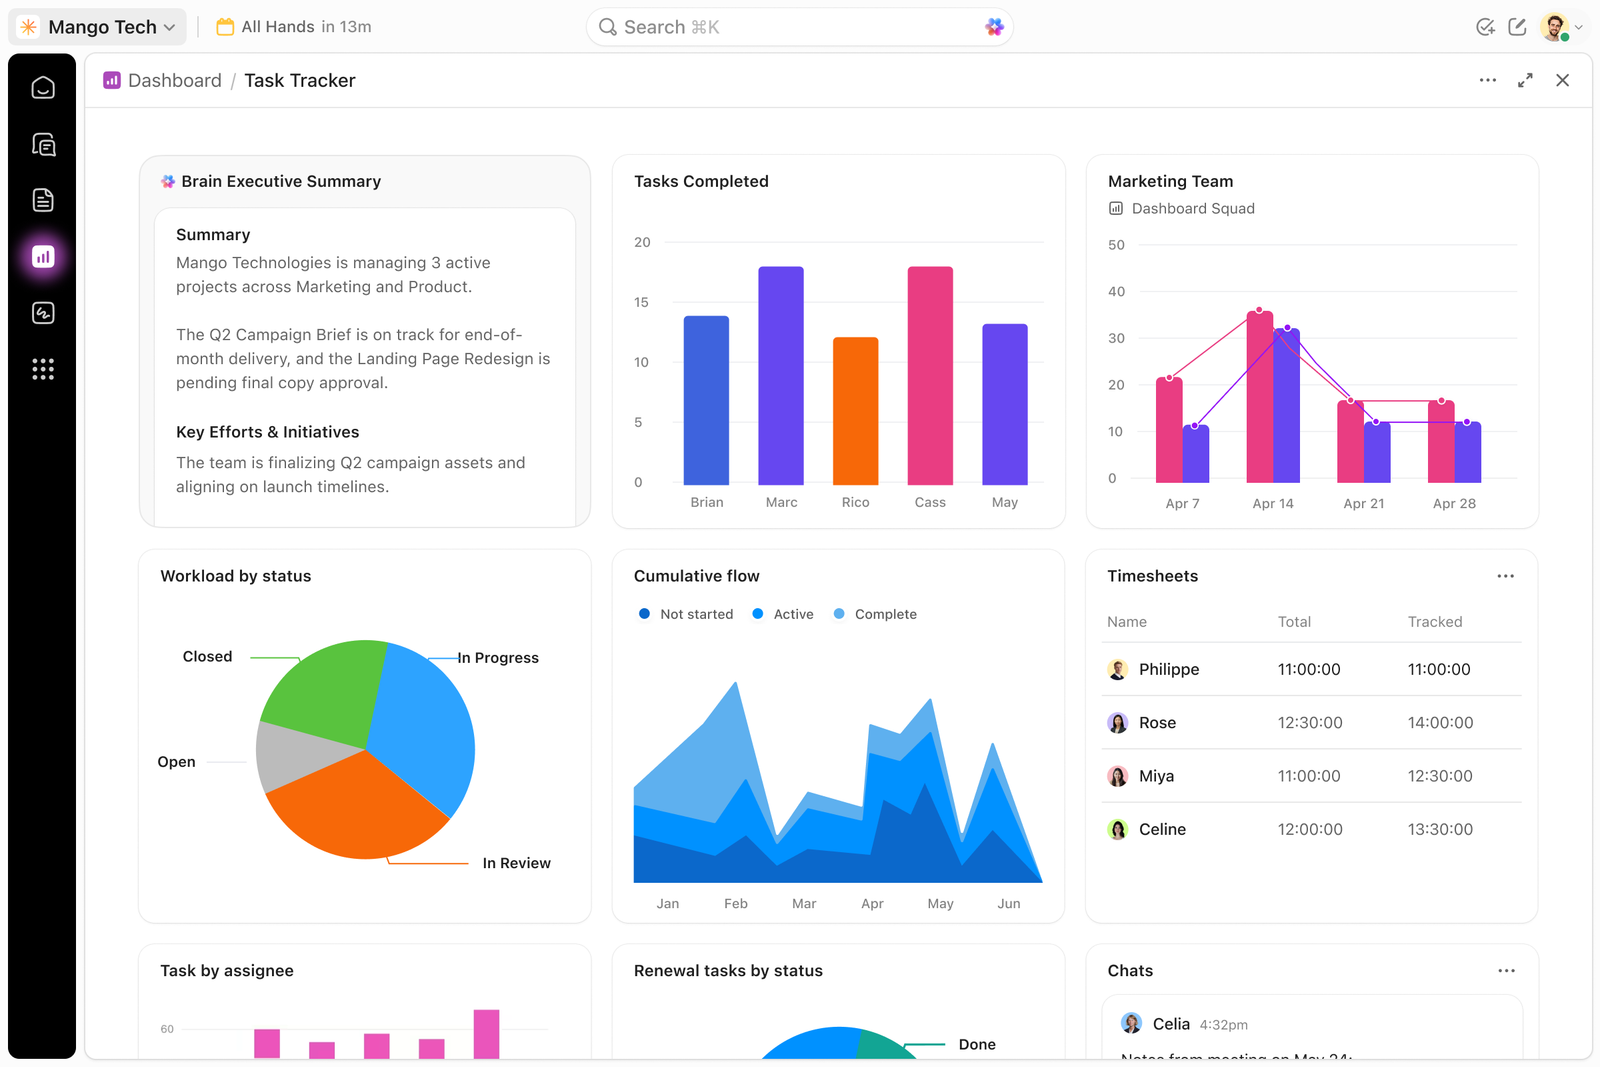
  • How to use Docs, Dashboards, Goals, and other essential ClickUp features
  • How to collaborate with your team inside ClickUp
  • How to create a simple, organized workflow
  • How to avoid common mistakes that make ClickUp unnecessarily complicated
  • How to build a foundation that can later be expanded with automations, integrations, and advanced workflows

ClickUp Is More Than a Task Manager

One of the biggest mistakes teams make is treating ClickUp simply as a place to create tasks.

ClickUp can become your organization’s single source of truth — a central system where your team can plan, execute, collaborate, track progress, and report on work.

But a powerful system starts with a simple and well-organized foundation.

That’s exactly what ClickUp 101 is designed to help you build.

Who Is This Course For?

This course is ideal for:

ClickUp Beginners
You’ve just started using ClickUp and want to understand the fundamentals.

Teams Adopting ClickUp
Your organization is implementing ClickUp and you want everyone to understand the same basic structure and terminology.

Existing ClickUp Users
You’ve been using ClickUp for a while but still feel unsure about how different features and levels of the hierarchy work together.

Business Owners & Managers
You want to understand ClickUp well enough to organize your business operations and create better visibility across your team.

Our Approach

We believe ClickUp should simplify your work, not create more work.

So throughout this course, we’ll focus on practical use rather than simply explaining features.

You’ll learn:

Understand → Organize → Execute → Improve

First, we’ll understand how ClickUp works.
Then, we’ll organize your workspace correctly.
Next, we’ll use ClickUp to manage real work.
Finally, we’ll show you how this foundation can be expanded into a more powerful business system.

By the end of ClickUp 101, you’ll have the knowledge and confidence to start using ClickUp effectively — and a strong foundation for moving into more advanced ClickUp workflows.

Let’s Get Started

Don’t worry about learning everything in ClickUp.

You don’t need to.

Start with the fundamentals, build good habits, and gradually turn ClickUp into a system that works for you and your team.

Let’s get started with ClickUp 101.

Show More

What Will You Learn?

  • By the end of ClickUp 101, you'll have a clear understanding of how ClickUp works and the knowledge you need to start using it effectively in your day-to-day work.

Course Content

Intro to ClickUp
Welcome to ClickUp 101! If you're new to ClickUp, or you've been using it but still aren't completely sure how everything fits together, you're in the right place. In this course, we're going to take you through the fundamentals of ClickUp — from understanding the basic hierarchy and creating tasks to organizing your workspace, collaborating with your team, and choosing the right views for your work. Our goal isn't to teach you every single ClickUp feature. Instead, we're going to help you understand the core concepts and best practices that will give you a strong foundation. By the end of this course, you'll be able to navigate ClickUp confidently, organize your work effectively, and understand how ClickUp can become a central system for managing your team's work. So let's stop looking at ClickUp as just another task management tool and start building a system that actually works for you. Let's begin!

  • What is ClickUp
    00:00
  • Why ClickUp?
    00:00

Workspace structures
ClickUp Workspace Structure Understanding ClickUp's structure is one of the most important things you need to learn before building your workflows. ClickUp uses a hierarchical structure that helps you organize your company, teams, departments, projects, and day-to-day work. Think of it like organizing a physical office: Workspace → Space → Folder → List → Task → Subtask Each level has a different purpose. 1. Workspace The Workspace is the highest level of your ClickUp environment. Think of your Workspace as your entire organization or company. For example: DTech Systems → Your Workspace Everything you manage in ClickUp can live inside this Workspace — projects, departments, clients, internal operations, marketing, sales, and more. A Workspace can contain multiple Spaces, users, teams, and workflows. Example If you run a company called DTech Systems, your Workspace could be: DTech Systems Inside it, you might have: Sales Marketing Operations Finance Client Services HR These would typically be organized as Spaces. Think of Workspace as your entire company. 2. Spaces Spaces are the major areas within your Workspace. They are generally used to represent departments, teams, functions, or major areas of work. For example: Workspace: DTech Systems Spaces: Sales Marketing Operations Finance Human Resources Client Delivery Spaces allow you to separate different types of work while keeping everything within the same Workspace. When should you create a Space? Create a Space when you have a major area of your organization that requires its own workflows, statuses, permissions, or settings. For example, your Sales team may need: Lead statuses Sales pipelines Follow-up workflows CRM-related custom fields While your Finance team may need: Invoice statuses Payment tracking Financial workflows These different requirements can justify separate Spaces. Think of a Space as a major department or business function. 3. Folders Folders sit inside Spaces and provide another level of organization. Folders are useful when a Space contains multiple related projects, teams, clients, or workflows. For example: Client Services Space You could create: Client A Client B Client C Or organize work by service: Web Development CRM Implementation ClickUp Implementation Automation Folders are optional. You don't need to use them in every Space. If your workflow is simple, you may be able to organize everything directly inside Lists. Think of a Folder as a container for related work. 4. Lists Lists are where your actual work is organized. A List contains Tasks and is often used to represent a specific project, process, workflow, or type of work. For example: Marketing Space Folder: Content Marketing Lists could include: Content Ideas Blog Production Social Media Published Content Or: Client Services Space Folder: Client A Lists could include: Website Development SEO Support Requests The right structure depends on how your organization operates. Think of a List as a specific workflow or collection of related work. 5. Tasks Tasks are the individual pieces of work that need to be completed. For example, inside a Website Development List, you might have: Create website sitemap Design homepage Develop contact page Configure hosting Test website Launch website Tasks are where your team actually manages and executes work. A task can contain: Assignee Due date Priority Status Description Attachments Comments Custom fields Checklists Subtasks Dependencies Time tracking Think of a Task as a specific piece of work that needs to be done. 6. Subtasks Some tasks are too large to manage as one simple action. That's where Subtasks come in. For example: Task: Launch Website Subtasks could include: Finalize homepage Test forms Check mobile responsiveness Connect analytics Configure SEO Perform final QA Publish website The parent task represents the overall outcome, while the subtasks break that outcome into smaller pieces of work. Think of Subtasks as smaller steps required to complete a larger task. Putting It All Together Let's look at a practical example. Workspace DTech Systems ↓ Space Client Services ↓ Folder ABC Company ↓ List Website Development ↓ Task Launch New Website ↓ Subtasks Finalize design Develop pages Configure forms Test website Connect analytics Launch This hierarchy allows you to move from big-picture organization to individual actions. The Most Important Rule Don't create more structure simply because ClickUp allows you to. One of the most common mistakes beginners make is creating too many Spaces, Folders, and Lists. Your ClickUp structure should reflect how your business actually works. Before creating a new Space, Folder, or List, ask: "What does this represent in our actual business?" If you cannot clearly answer that question, you may not need another level of structure. A good ClickUp structure should make work easier to find, easier to manage, and easier to report on. A Simple Way to Remember It You can remember ClickUp's hierarchy like this: Workspace = Company Space = Department / Function Folder = Related Work List = Workflow / Project Task = Work Subtask = Steps Once you understand this hierarchy, you'll have the foundation you need to start building effective ClickUp workflows. In the next lesson, we'll look at how to design your ClickUp structure correctly before you start creating Spaces, Folders, and Lists.

Roles & Permissions